


I Replaced the Broken Plastic RV Water Valve with a Brass Improvement
I didn't really want to just put another piece of plastic junk back on there, knowing I'd just be replacing that as well in the not so distant future. Figured this was one more place I could improve on the performance of what the manufacturer / designer had called for. Cost me just a very few dollars, but I came up with a much better answer for a fresh water dump valve.
Another place it's too bad the builders don't do a proper job. I really don't think I'd have noticed the difference of maybe 6 or 7 dollars when I bought the rig, to have had this done right, then. OK, enough whining!
A little of this, a few of those, one of these, some of that, a beer, and some silicone .................... huh? Wait a minute. A beer?
Well, I figured I'd get thirsty doin' all this hard work an' all! It was only one! And I promise, not until the job's done and I'm sittin' quiet with some good music on the stereo!
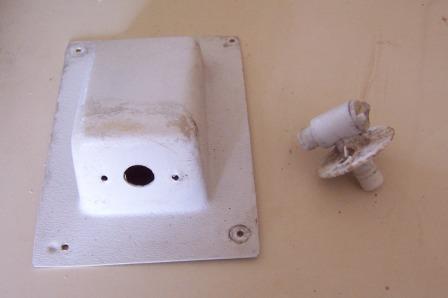
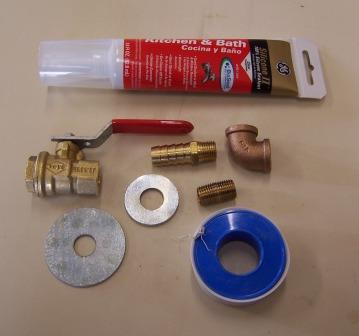 ***All the bits and pieces to do the repair***
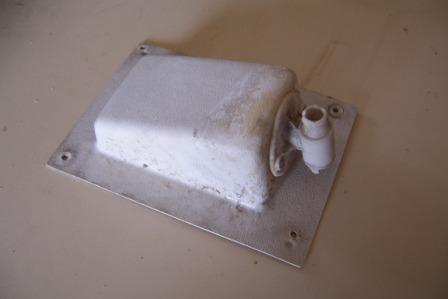
First thing was to remove the housing that carries the valve.
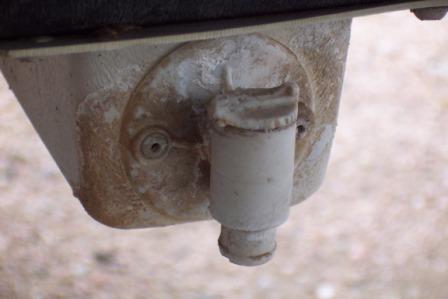 ***The Handle broke off the top of the Valve***
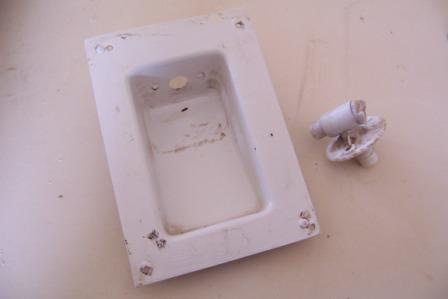
***The water "Dump Line" projecting at the RV water valve housing location***
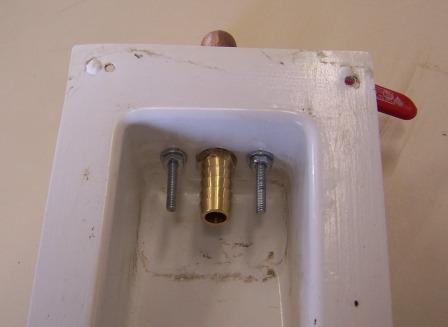
With the RV water valve housing removed, I had to cut the rivets used to mount the old, now broken valve and remove it.
The new valve assembly had to be put together. Then mounting holes marked and drilled in the big washer I used to provide a solid base against the plastic housing.
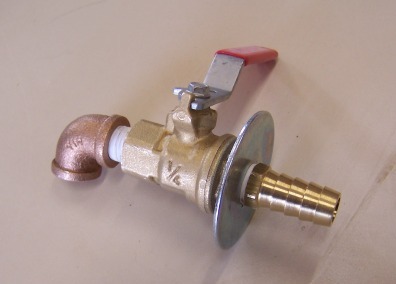
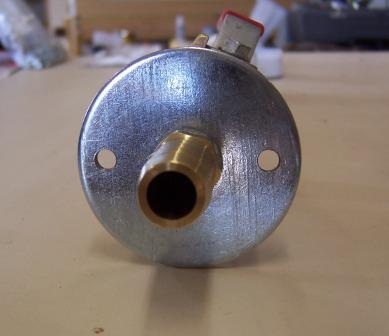
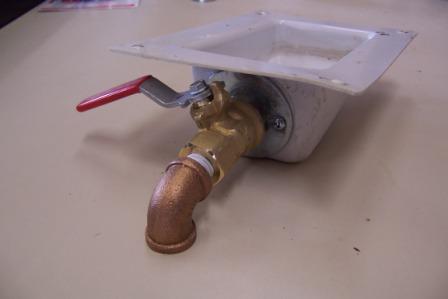
With the new valve assembled and ready it was a simple thing to mount it in the old housing setting it in a bed of silicone to help seal and stabilize the RV water valve.
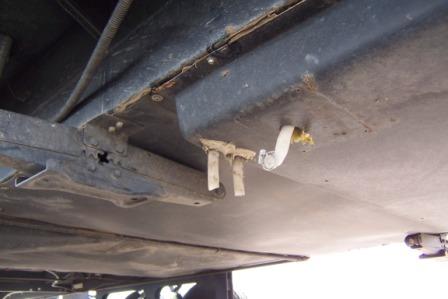
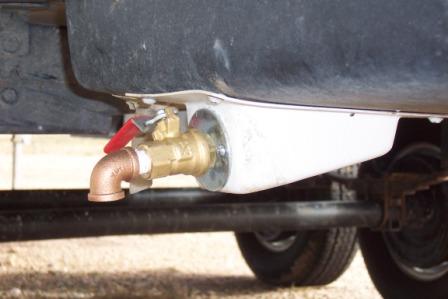
Reinstalling the housing / valve assembly was a little bit of a pain. The vinyl water line wanted to kink when I pushed it back up into the rig. I had to take the screws out of about half of the belly pan, under the water tank. That allowed me to reach up inside and push it into a position that would allow remounting the rv water valve housing without any kinks in the line.
Not difficult, just a minor hitch in my gitalong.
But just an hour or so in the afternoon and that wore out, crusty, old plastic junk is now a solid brass RV water valve that should give a lot better, and longer service!
Return from RV Water Valve to Goin' RV Boondocking
