Why fight your RV Bed?
Make it work for you!
There is a huge amount of storage space under your RV Bed. You just can't get to it without fighting the bed! Why should you have to wrestle with the mattress to get to the storage area underneath?
A really simple rv remodel will allow you easy and quick access to that space. You can turn that area into RV furniture! Basically, in our rig, by converting that large, hard to reach area into a series of smaller individual compartments, we created a "dresser" for some of our clothing!
Where there had been just (1)one large box, there are now (8) eight individual compartments. (3) three for Heidi, (3) three for yours truly, and (2) two for general storage.
The (6) six personal compartments are now easily accessible without having to lift or push the mattress out of the way. The other two are for less frequently accessed storage. For those we still need to move the mattress to get access. Some things just never change!
We will use them for bed linen, blankets, bed spread etc. Things we just don't need all that often so all is good.
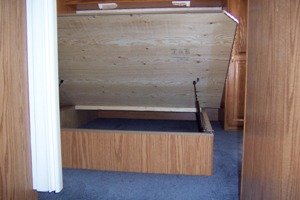
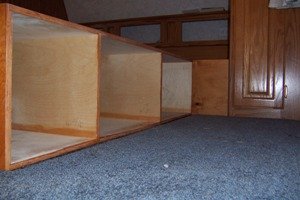
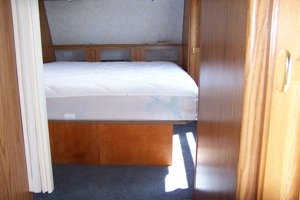
First thing to do was to get the old bed frame out of the way. Here are a few snapshots of the old bed base before removal.

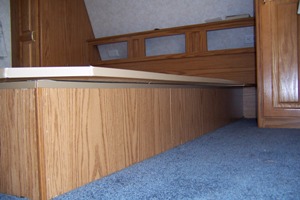
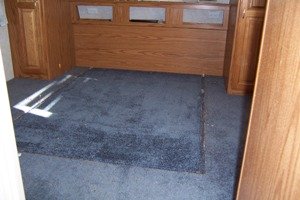
And now it's gone!
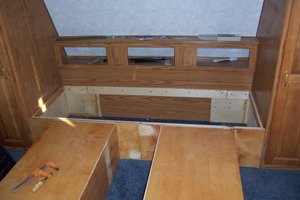
Next I built the new base in (3) three simple, modular, "box" sections and installed them. This gave me the (3) compartments on either side as well as the long 7th compartment up the center and the less accessible 8th "forward" compartment.

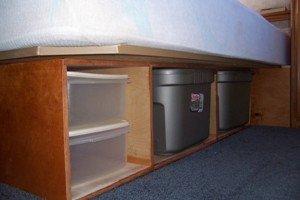
We used Rubbermaid containers of the right size for convenient "drawers" in the newly accessible compartments.
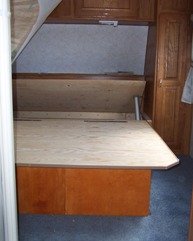
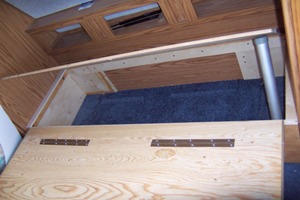
This is the new front compartment with it's hinged lid installed. We only need slide the mattress to the rear a bit to access this compartment. In the old base it could only be accessed by lifting the entire mattress and was mostly unusable/inaccessible.
Looks nearly the same as the old box, is only 3 inches taller and one heck of a lot more usable!It is really simple plywood box construction. Anyone can do it using a variety of methods. For the price of a couple sheets of Baltic birch plywood you can gain a tremendous amount of conveniently accessible storage in your rig.


